Resize Images Without Unwanted Side Effects in Wix
Nowadays I no longer create a website from scratch. I spend a good chunk of my time on selecting pictures and resizing them to fit the beautiful templates.
Resizing pictures sounds easy in theory. In reality, I find the task challenging. Most pictures don’t have the same size as the pictures on the templates. Resizing a picture in Wix to fit a size either distort the picture or crop out a big part of it.
If Wix auto crops out your picture when you resize them, then this article is for you. The solution is to “Keep Proportions” option on while switching off “Auto Fill” option in the Settings of each picture.
The in-depth content below will show you what each option does and know how to switch on/off those options to create your beautiful website. In case the solution above doesn’t satisfy your need, I will show you another technique.
1. Switch on keep proportions
Most of the time you want to resize the image to a smaller size. So you reduce the length and the width of the image. But if you don’t keep the proportion between those measures, you will see the arms longer than the legs. Therefore, it is crucial to keep the proportions whenever you resize your images.
Each image in Wix has the “Keep proportions” setting. When it is on, Wix auto adjusts your image length and width so that your resized image looks similar to the original version.
The steps below show you how to switch on the “Keep proportions” setting.
- Click the image you want to resize
- Click Settings icon
- Scroll to the bottom of Image Settings window
- Switch on Keep proportions
2. Switch off Auto Fill
So you are able to reduce the image to a smaller width that fits your website. But the image length is still too long. It’s much longer than your desired length. And Wix just doesn’t allow you to reduce the length because of the “Keep Proportions” setting.
There is good news and bad news. The good news is that you can reduce the length by enabling the “Auto Fill” setting. Basically, you reduce your image to a smaller frame. Then Wix auto decides how to fill up that frame with part of your image.
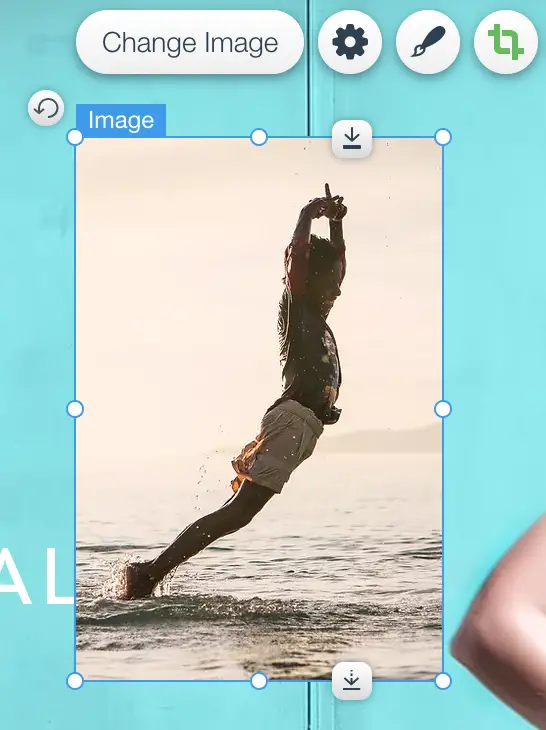
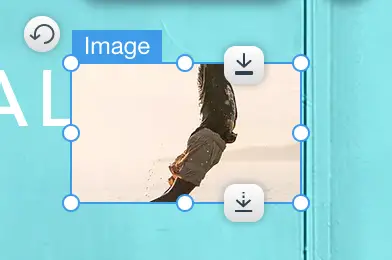
Now comes the bad news. The “Auto fill” function doesn’t work well. It often leaves you with an image being cropped in a strange way. For example, it turns my beautiful kid picture into one without the head and the legs. The original picture and the “auto fill” picture is below.
Therefore, I strongly recommend to switch off this “Auto fill” setting if you have it on. The steps are below.
- Click the image you want to resize
- Click Settings icon
- Scroll to the bottom of Image Settings window
- Switch off Auto fill
3. Crop the image yourself
So your last option to have a picture that fits your desired size is to crop it yourself. Wix lets you do so easily. The steps are below.
- Click the image you want to resize
- Click Crop icon
- Adjust the cropping frame
- Click Apply
After cropping the image, you no longer see the original image in magnify mode or in a popup mode when you click the image. The good news is that there is a workaround using Lightbox element.
4. Use Lightbox to display the whole picture
The game plan is to prepare two versions of the same picture. The first version is the original picture. You will place it on the Lightbox. The second version is the resized and cropped one that fits your website. When a user clicks the image on your site, he or she will see a Lightbox that displays the original picture.
The steps to set it up are below. Because the process is quite complicated, I created the video below to help demonstrate it.
- Click Add icon
- Click Interactive
- Click Welcome
- Click a lightbox of your liking
- Remove everything on the lightbox
- Add the original picture to the lightbox
- Add lightbox link to the Settings of cropped picture
That is it about resizing and displaying pictures in Wix. Please share the article if you find it useful. And check out other articles for more tutorials.