How to create columns of text in Pages on Mac
Unless I write a college essay, I rarely fill out the pages with just texts and without any creative organization. One of the ways to organize my text is to divide it into columns.
For example, I often divide the text on one page on the newsletter into three columns. But, I often use two columns to organize the recipe content in a cookbook.
The question is how to create those columns of text in Pages on Mac. The short answer is to change the column number in the text format. The instructions below will show you the details.
01. How to create columns of text in Pages on Mac?
One of the settings in the text format is the number of columns. It allows you to specify how many columns you want to spread your text into. You can increase the number of columns or decrease that number. Mac Pages auto adjusts the text for you.
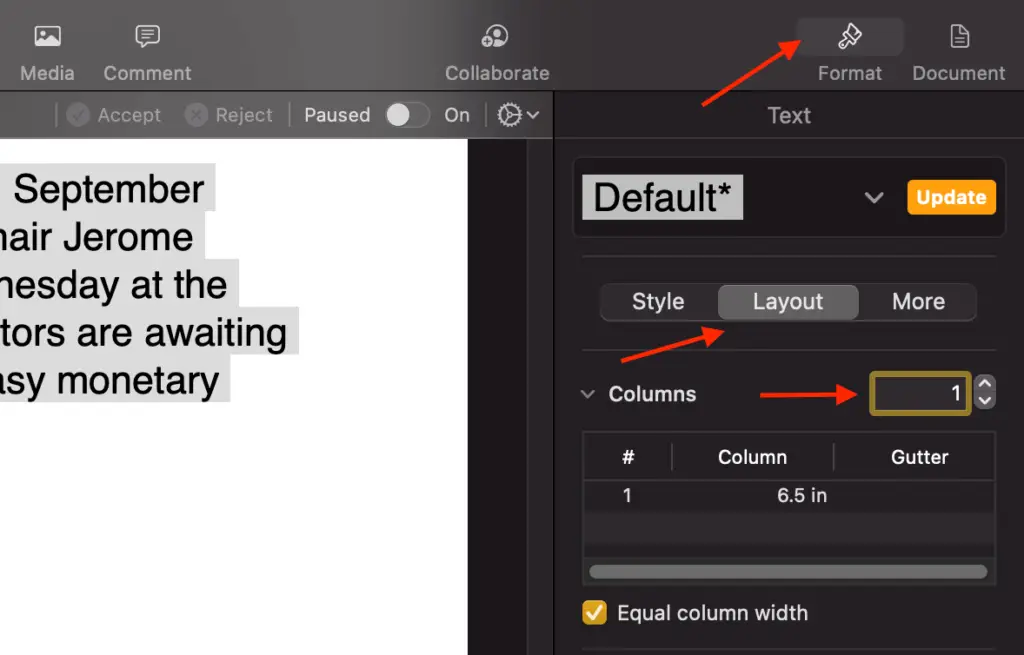
The steps to display the text column setting are below.
- Highlight the text that you want to divide it to columns
- Click the Format icon
- Click the Layout tab
- Increase the number of Columns
02. How to vertically divide a page in half in Pages on Mac?
If I create a cookbook or a restaurant menu, I want to organize my page content into two halves. One half is to display the pictures of the food. The other half is the text to describe the pictures. It is very useful. No wonder a lot of the internet content is organized this way.
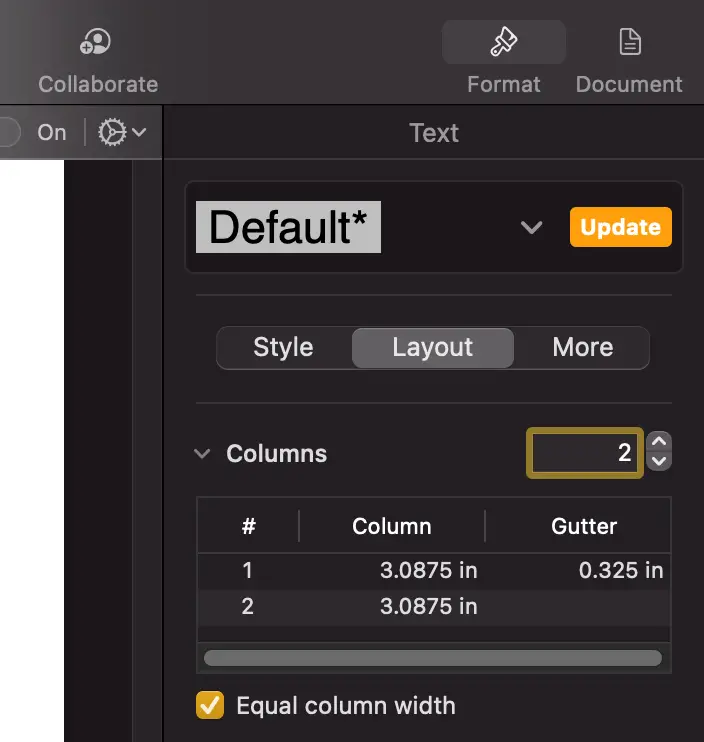
If you also want to vertically divide your page content into two halves, you can do so easily by adjusting the number of columns in the text format to two. The steps are below.
- Highlight the text that you want to divide it to columns
- Click the Format icon
- Click the Layout tab
- Type 2 in the number of Columns
03. How to add two columns of bullet points in Pages?
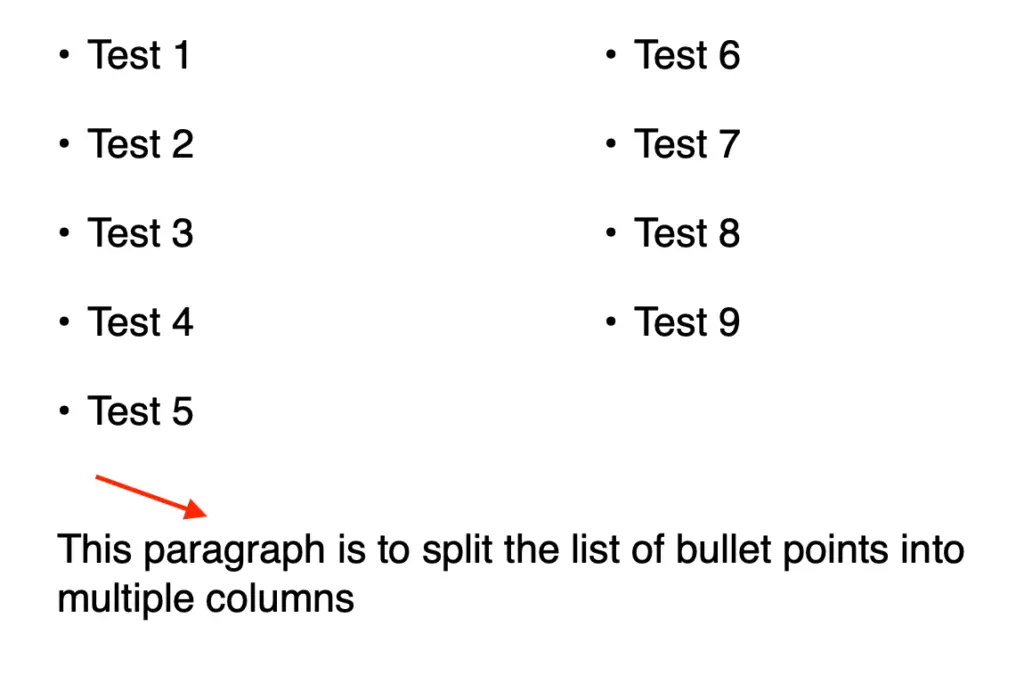
What about you have a list of bullet points? Can you divide that list into multiple columns? The answer is yes. But you must know this little trick.
Normally, if you select the list of bullet points and increase the number of columns, Mac Pages doesn’t auto break the list into multiple columns. But, if you have a paragraph of text below the list, then Mac Pages will break that list into multiple columns.
The below steps show you how to add two or multiple columns of bullet points.
- Add a paragraph of text at the end of the list of the bullet points
- Select the list of bullet points
- Click the Format icon
- Click the Layout tab
- Type the number of Columns
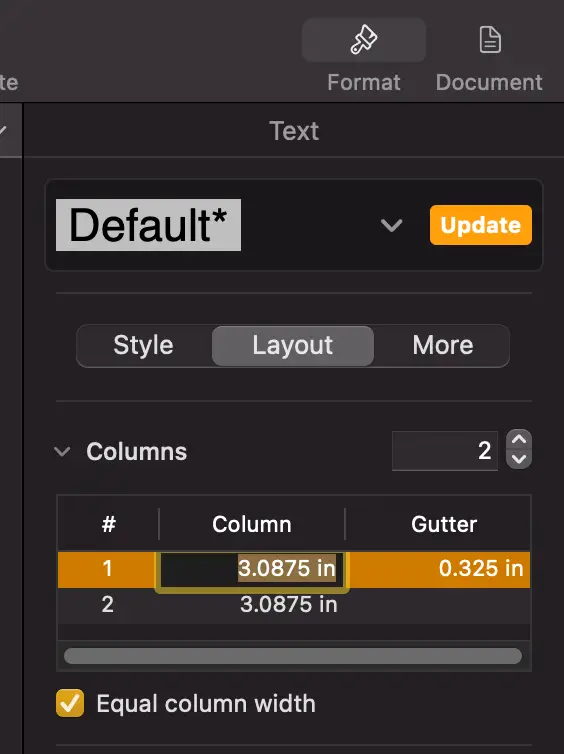
04. How to adjust the text column width and gutter in Pages?
Mac Pages auto calculates the column width based on the width of the page and the number of columns on that page. Sometimes the width seems to be too small or too large for the content. The good news is that you can adjust the column width to your liking.
The steps to adjust the text column width are below
- Expand the columns in the Layout tab
- Select the column you want to adjust the width or gutter
- Change the values of the width or gutter