Require filling out email form before downloading on Wix
3000 downloads without a single email collected.
That is what happened to my client. If he had required his visitors to fill out a form before downloading his pdf file, he would have collected thousands of emails. But, can you do that on Wix? The answer is yes. You can change Wix form so that the visitors get the download link in their emails.
Collecting emails
Your end goal dictates how you set up your Wix site to achieve it. The most popular goal is to collect emails of those interested in your freebie. And possibly your business. Later on, you send out emails to those visitors. You can try to build a relationship, or try to sell them stuff.
The process is as follow. You create a form. The form has at least an email input field and a submit button. Your visitors fill in the emails. You also need some texts to explain clearly that the download link will be sent to their emails. And you will send them some newsletters in the future.
The nice thing about this process is that it validates the emails for you. Your site visitors get the download link only if they enter a valid email. Of course, those visitors can enter fake emails. But then they will never receive the download email.
Guidelines for email collecting forms that convert
You will find the technical details to create a form below. But those are easy steps. The difficult part is to create such a form so that your visitors feel comfortable to enter their emails.
The internet has been around long enough for the internet entrepreneurs to figure this out. It is not complicated. There are only a few bullet points to follow.
- Tell your visitors to check their inbox shortly after submitting the form. In case they don’t see the email in the inbox folder, remind them to check the spam folder. Many email services auto put an email into spam folder when they recognize that same email was sent to multiple people.
- Tell your visitors what emails they will get beyond the downloading email. People are afraid of getting so many spam emails. They hesitate to give their emails. You remove this fear by being transparent to your visitors. You can even add that they can remove themselves from the email list anytime.
- Keep your form simple. Asking a stranger for an email is already a big ask emotionally. Any additional ask only adds more weight to that burden. Therefore, the shorter the form is, the better. Your form has a maximum of two fields: name, or email. The best email forms out there only have one email field.
- The look and feel of your form must be consistent with your website. The lack of consistency will make your form look spammy. The consistency is necessary to build trust with your visitors, and build your personal brand.
- Display proximately the number of email subscribers on your form. This acts like a social proof. It is a subtle way to show your visitors how much value they will get from you.
- Pick the right label for your form submit button. “Submit” is a big no no. “Send” is okay. Best if you can use more personal labels like “Get my download” or “Send me”.
Below are a few examples of an excellent email collecting form
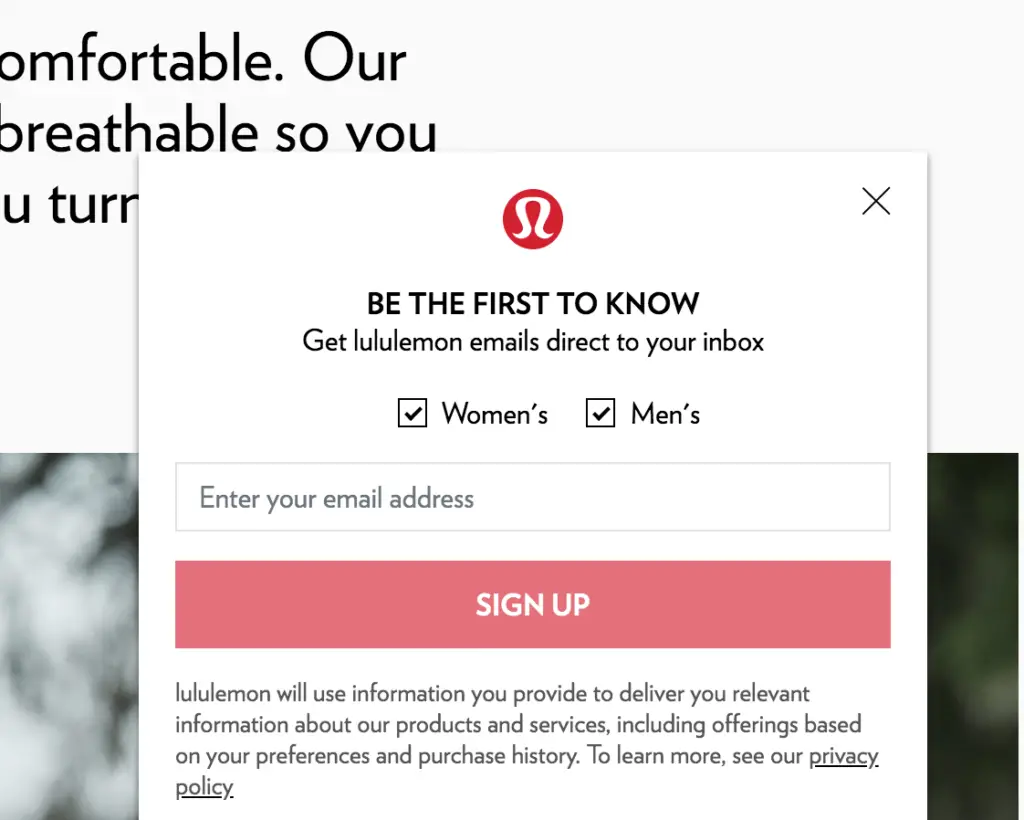
The form below is from Lululemon. It has simple but elegant design. The form is very transparent about how it uses your information. And it only has one email box to fill out.
The form below is from American Eagle. It is simple. It focuses entirely on the value the visitors will receive. Therefore, motivate them to sign up.

Uploading the download file
People say what goes up has to go down. I say what be downloaded has to be uploaded. Let’s start the process with uploading file steps.
You cannot transfer the file directly from your computer to their computers. You must first upload the file to Wix or other online cloud storages. Then your visitors can download the file from there.
Online cloud storages like Google drive or Dropbox allow you to upload almost every file format. But if you decide to host your file on Wix, your file must be in one of those formats: PDF, Microsoft office files (DOC, DOCX, PPT, PPTX, XLS, ODP, or ODT), image files (JPG, PNG), music files (MP3, WAV, FLAC, M4A), video files (MP4).
Steps to upload file to Wix
Follow the steps below:
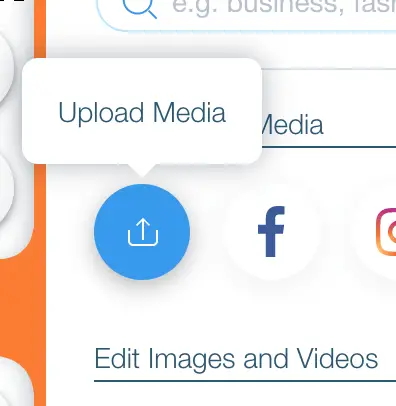
- Click the Media icon
- Click the Upload Media icon
- Drag & Drop the file from your computer or your online storage
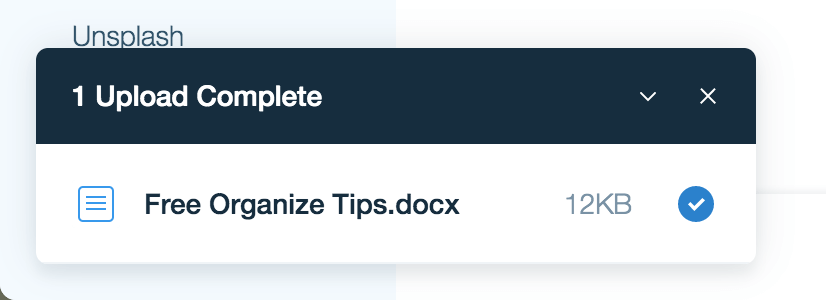
- Wait until the file is fully uploaded
- Select the X icon to close the uploading window


Create a light-box form for collecting email
In case you don’t know what a light-box is, a light-box is a form that floats on your site. You can make it appear or disappear. Sometimes the environment around the light-box is darken so that the form draws more attention.
A Wix form is static. Wherever you put it on your site, it stays there. When the visitors move away from the form, the form won’t follow them. It is proven that a light-box is more effective than a static form in most cases. Therefore, I will show you how to create a light-box in this tutorial.
Follow the steps below:
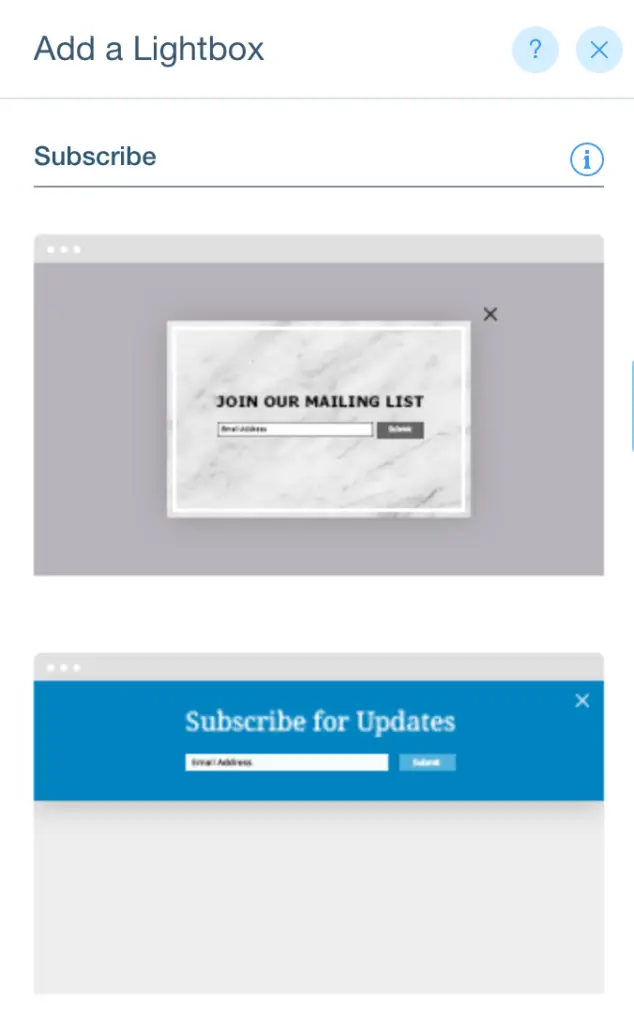
- Click the Add icon
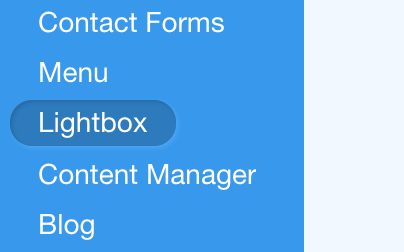
- Select the Lightbox menu
- Select the Subscribe menu
- Click on a subscribe form of your choice


Automate sending out the email
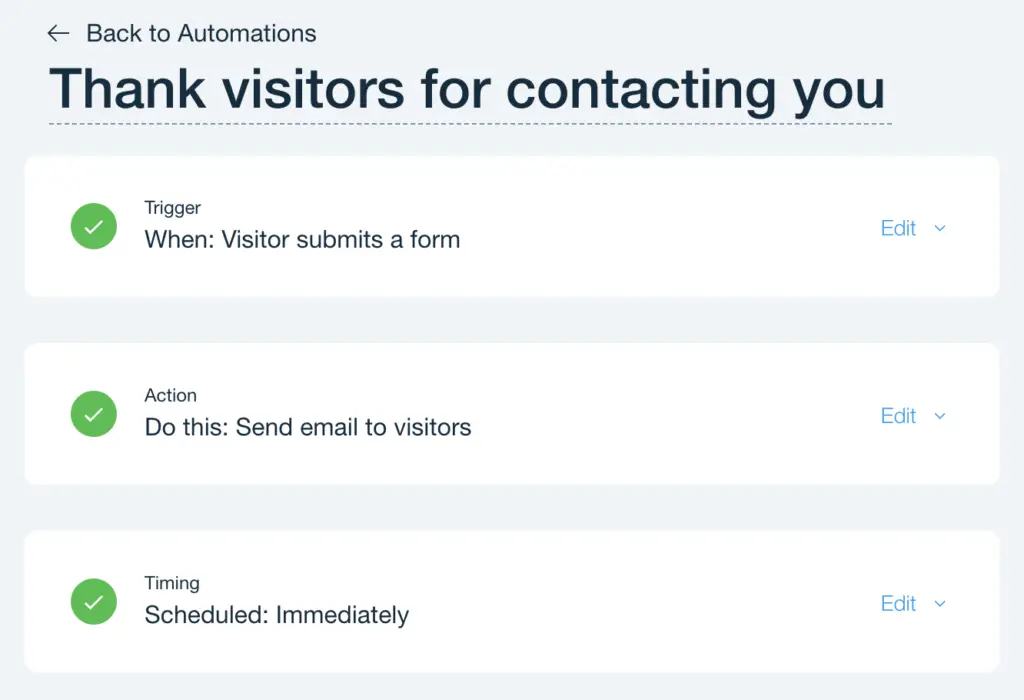
After the visitors enter their emails, your form immediately sends out the email with the file download link. The automation behind the form does this. But you must configure it.
Follow the steps below:
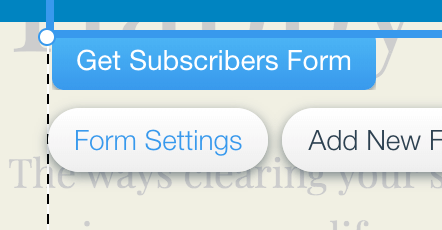
- Click the Form Settings button
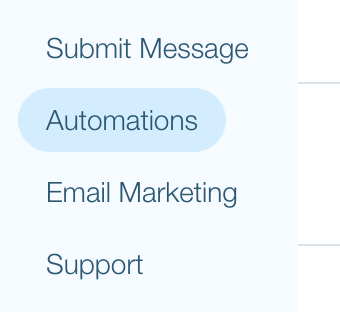
- Select Automations menu
- Click Create link under “Send a thank you email”
- Keep all options as they are
- Click Activate button


Create an email with file download link
You build the form. You configure the automation. The only thing left is the email with the file download link. You learn how to create one in this section.
Follow the steps below:
- Select Main menu
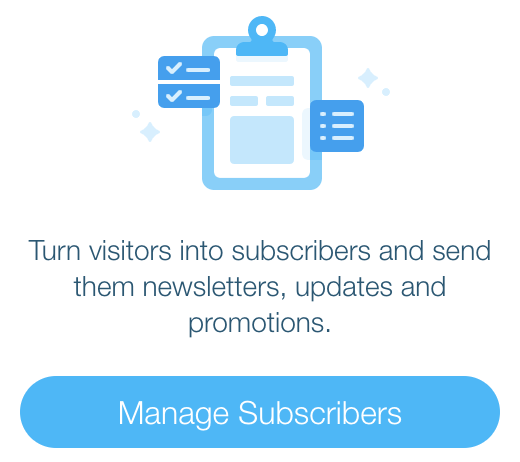
- Select Manage Subscribers option
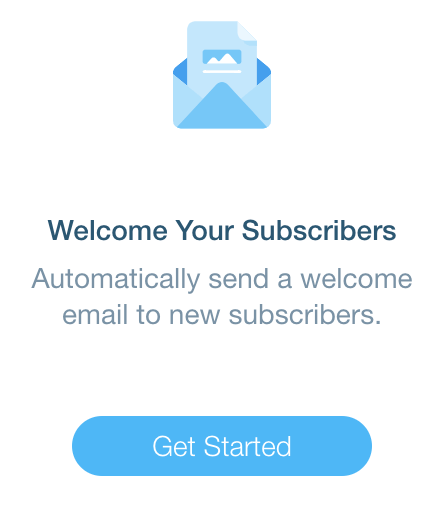
- Click Get Started below Welcome Your Subscribers
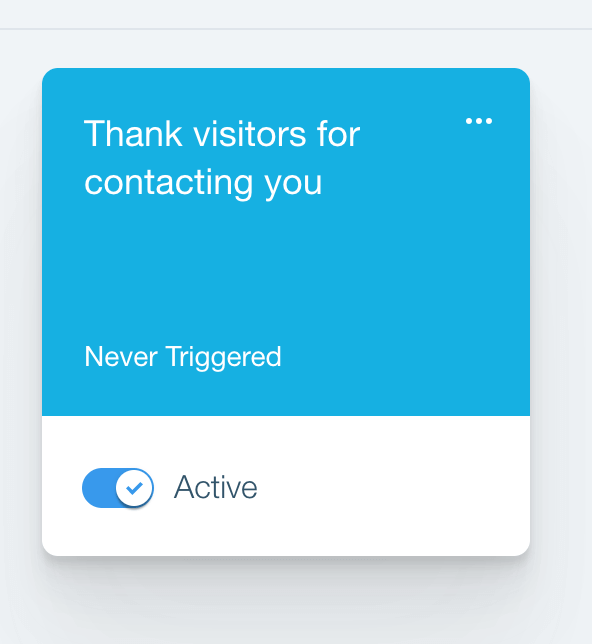
- Select the previously created automation
- Edit the Action of the automation
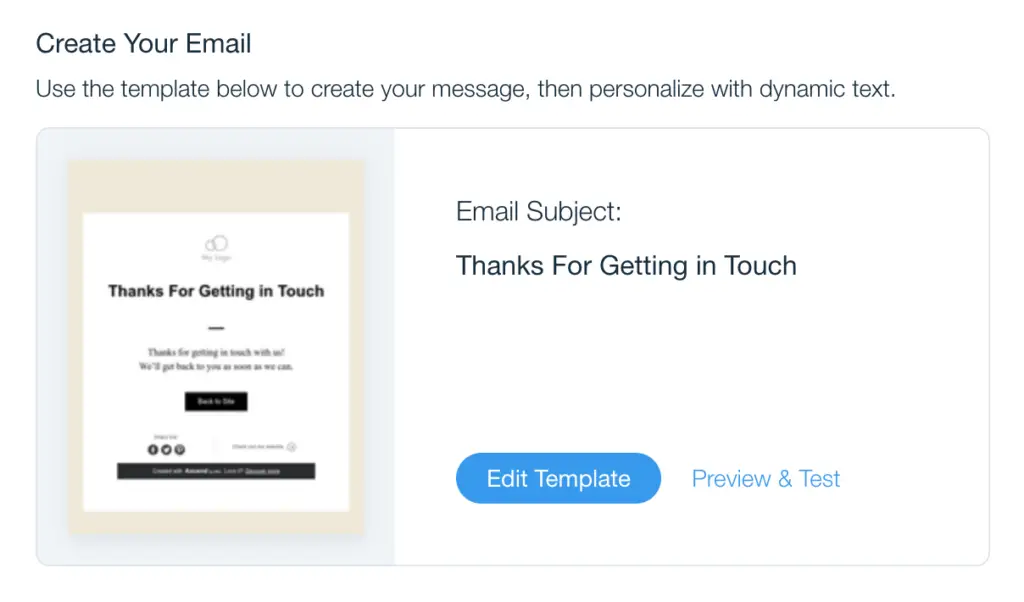
- Click Edit Template on Create Your Email section
- Select Call-to-Action button on the email template
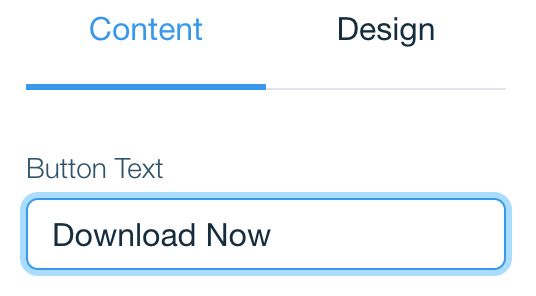
- Change button text to Download Now
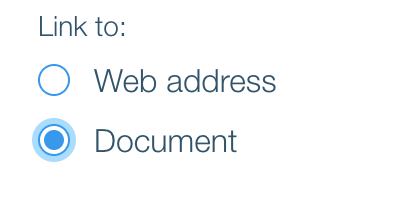
- Select Link to: Document option
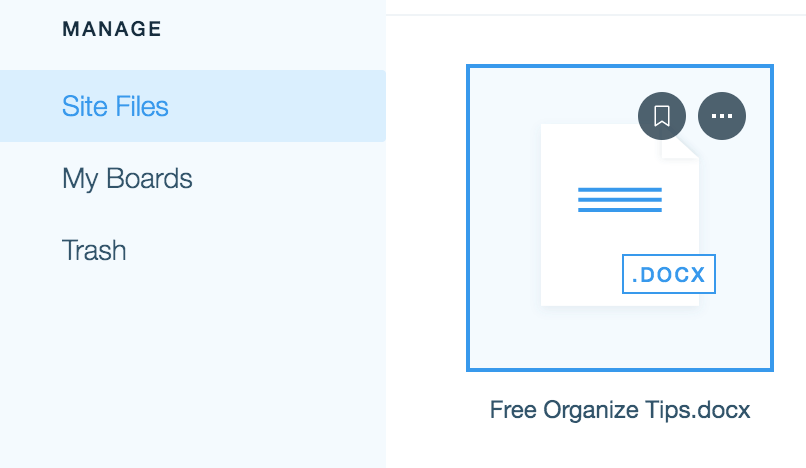
- Click Choose File to select the uploaded file
- Select the file
- Click Add to Page
- Click Save & Continue
- Click Save







Test Your Email Automation
To this point you have the whole process in place. If you are curious to test out the process, then the instruction below is for you.
Follow the steps below:
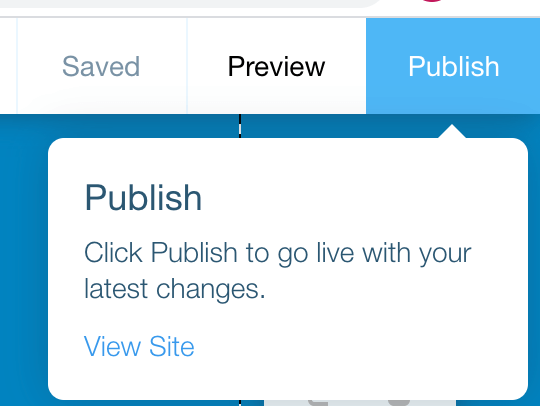
- Publish your Wix site
- View your site
- Enter the email you want to receive the download link
- Check your email for downloading email
- Click Download Now button on the email


Conclusion
Congratulation! The email capture for your business is taken care of. With Wix, it is a fast and simple process. Let me know if you have any question in the comment section below. And watch out for other tutorials.